Steps to Building a Prototype for Your Product
Prototype manufacturing helps in design realization. The prototypes made represent the actual product and give the designer a better understanding of the model. Prototype development is a necessary process and has excellent benefits, including time and cost-efficient, the possibility for conducting a usability test, and design customization. Many companies provide rapid prototyping services for use in applications like medicine and automotive. In this extract, we discuss the steps to building a product prototype.
Steps to Building a Product Prototype
Prototype development involves several steps. They are;
1. Outline the Basic Requirements
Determine what the product is all about or what will be needed in it. How do you want it to look or function? What input or output will it bring? Asking yourself such questions will give you a rough idea of the prototype prior to its development.
2. Create a Detailed Sketch
The sketch is supposed to represent your design concept. It should be as detailed as possible and evident of the many ideas you have visually. The concept sketches can be divided into two: design and technical sketch. The design sketch is supposed to give an idea of how the final product will look. The technical sketch represents the working, dimensions, and materials of the final product. The software can also be used for sketching, but drawing on paper using a pen is better and can be used as proof of ownership.
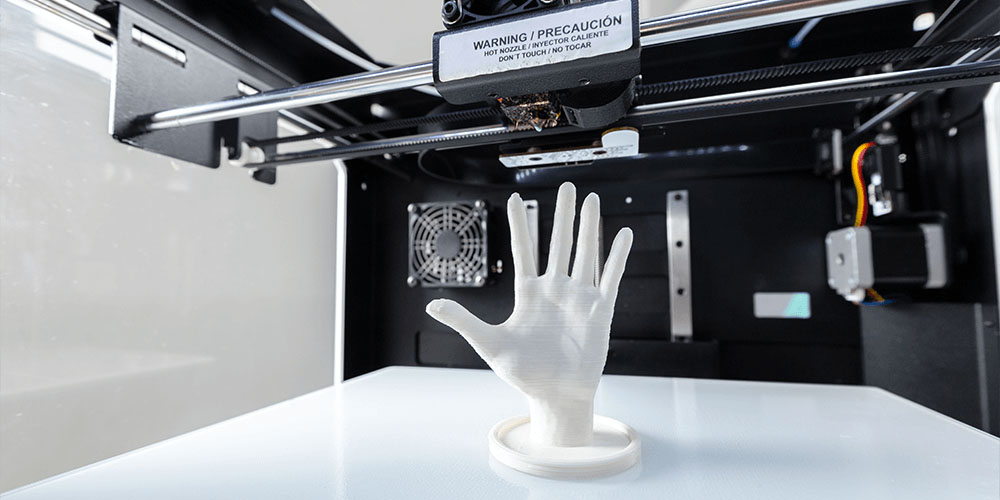
3. Create a Three-Dimensional Model
This is an optional but great step that helps visualize the final product from all angles by demonstrating its shape, design, and size. It is more detailed than the concept sketch since it’s used to make the actual prototype. You transfer the concept sketches you made previously to a 3D modeling software. You can have the prototype printed in 3D from the model, which acts as your proof of concept. It doesn’t have to resemble the finished product; it should be presentable and prove that it works. This step is beneficial; however, it is costly, especially for upcoming businesses.
4. Identify Design Issues Using the Initial Prototype
Your prototype should direct you on the specific faults to alter in the design. Making changes to the prototype is essential before progressing to prevent the mass production of products with design problems.
5. Develop the Final Prototype
It is the final step before processing begins. The prototype will represent the product that will be sold to customers or shown to investors. As a designer, you have to know how to reduce the cost and retain its quality and functionality. Improve some qualities of the prototype, like durability and overall appearance. Your target customers also influence your prototype. For luxurious customers, quality is vital, while low-budget customers need something affordable.
Bottom Line
The process of prototype production is straightforward and takes a short time to complete. You can accomplish the first few steps alone, then let a professional do the rest. Alternatively, you can let the designer handle the process from the start and fill you in on everything.